BkS
Hello all, I'm currently creating a fantasy drift/grip track which takes real corners of some of the best corners of the best Japanese circuits. Added to that is my own flare, with elevation, camber, etc. Currently the track mesh for racing on is complete, but I still need to add terrain, buildings, etc.
Couple of photos from start to finish;
Track Layout:

Track Lofted, elevation complete, mesh bugs fixed:

Main straight & jump textured:


Nikko circuit outside corner style drop off after turn 3, early stages before texturing:

Turn 6, old texture (looking from behind looking onto turns 7, 8 & 9):

Second last harpin:

Second last harpin, drivers POV:

Pitlane Tunnel, one car at a time, only 5 meters wide:

This is where I am at at the moment. Working on the pitlane tunnel.
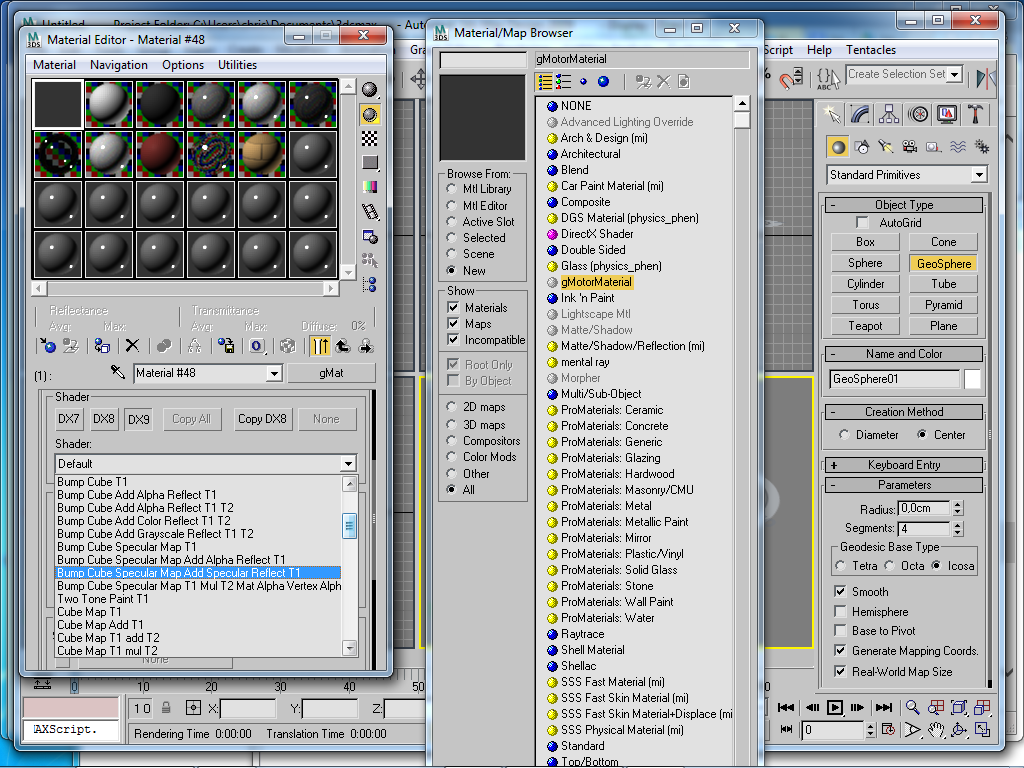
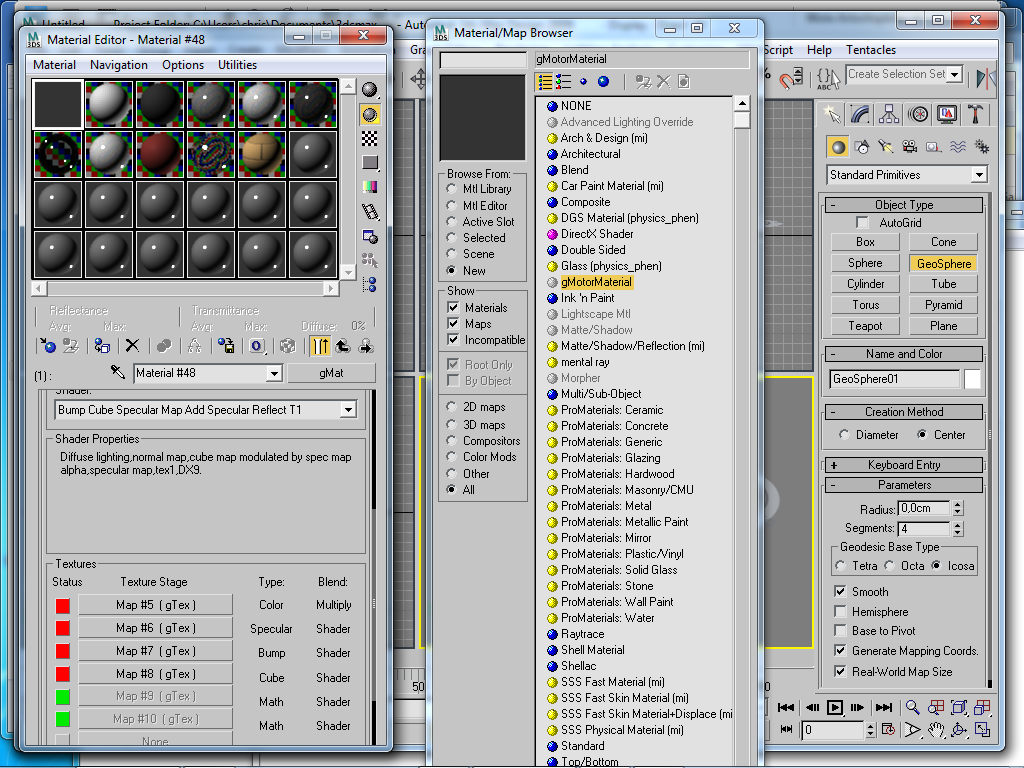
Right now I'm still trying to learn how to use the gMat materials, so I am wondering, how would I add bump/spec/cube maps? I would like to add a bump, spec & cubemap to the tunnel, and choosing the shader "Bump Cube Specular Map Add Specular Reflect T1" doesn't seem to add a cubemap like what would happen in 3DSimED. It has me very confused because if I show material in the viewport it becomes the main material and I don't want that. :C
If someone could help me out that would be great. I'm used to adding shaders to my cars via 3DSimED, just easier that way, but now that I'm doing my first track I want to try use the rF plugin for Max to it's full.
Couple of photos from start to finish;
Track Layout:
Track Lofted, elevation complete, mesh bugs fixed:
Main straight & jump textured:
Nikko circuit outside corner style drop off after turn 3, early stages before texturing:
Turn 6, old texture (looking from behind looking onto turns 7, 8 & 9):
Second last harpin:
Second last harpin, drivers POV:
Pitlane Tunnel, one car at a time, only 5 meters wide:
This is where I am at at the moment. Working on the pitlane tunnel.
Right now I'm still trying to learn how to use the gMat materials, so I am wondering, how would I add bump/spec/cube maps? I would like to add a bump, spec & cubemap to the tunnel, and choosing the shader "Bump Cube Specular Map Add Specular Reflect T1" doesn't seem to add a cubemap like what would happen in 3DSimED. It has me very confused because if I show material in the viewport it becomes the main material and I don't want that. :C
If someone could help me out that would be great. I'm used to adding shaders to my cars via 3DSimED, just easier that way, but now that I'm doing my first track I want to try use the rF plugin for Max to it's full.
Last edited:
 )
)
